If you have an Apple Watch, you’ll know just how useful they can be for various tasks. Whether it’s checking in on your daily step count, reviewing your burnt calories, controlling music, having a look at the weather conditions, or simply replying to messages, you’re sure to get the very best out of the smart device. As well as a handy device that fits snugly on your wrist, it can also be used as a fashion accessory, with Apple Watch bands readily available online. Changing between your collection can often be tricky, though, so continue reading this guide from Blakemoor on how to change an Apple Watch band to fit your brand-new style.
How to change the watch band on an Apple Watch
As problematic as you may find changing your Apple Watch band can be, after this guide, you’ll be an expert. Whether you’ve picked up an official Apple Watch strap or found a stunning designer watch band from the Blakemoor collection, taking them off follows the same process. There are four steps to follow, which are:
- Preparing the Apple Watch
- Using the spring-loaded buttons
- Removing the Apple Watch band
- Inserting the new Apple Watch band
Preparing the Apple Watch
To get started, you must find a soft and clean surface to lay your Apple Watch face down on. This helps to prevent damage like surface scratches to your screen. The last thing you want is to damage the screen while working out how to change an Apple Watch band.
Using the spring-loaded buttons
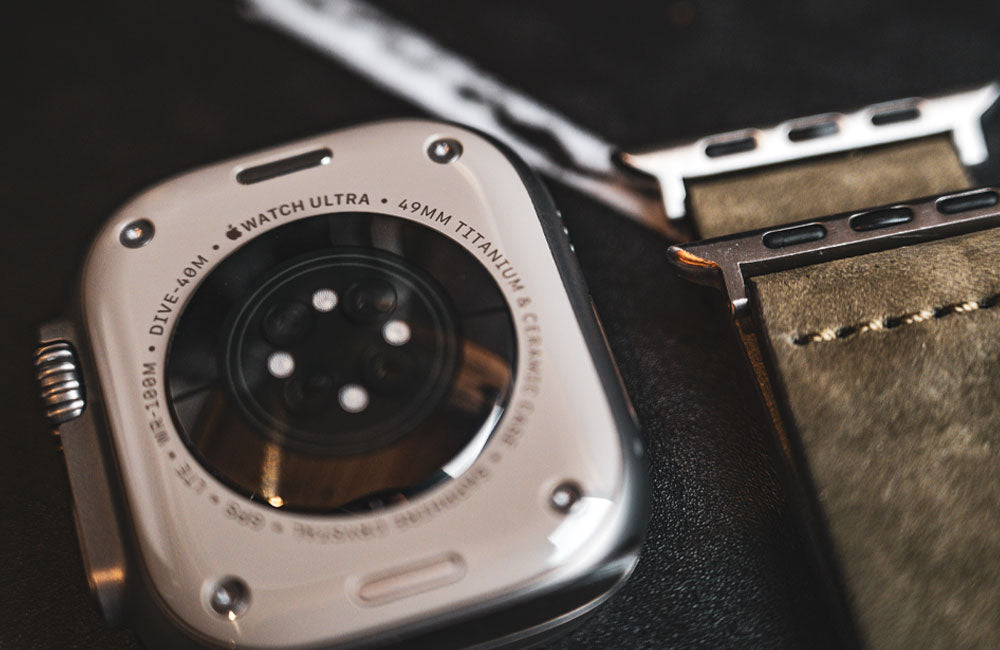
Next, you’ll see two buttons at the top and bottom of your watch. These spring-loaded buttons control a locking mechanism to keep your Apple Watch band in place at all times. Holding these buttons releases the lock, which allows you to easily remove your band.
Removing the Apple Watch band
With the Apple Watch in a safe position, use one hand to hold the spring-loaded button down. You should be able to use the tip of your finger or your fingernail to do this. With your other hand, slide the band out of its slot completely.
You must now repeat this process with the other side which will leave your Apple Watch device looking lonely, ready for their brand-new band.
Inserting the new Apple Watch band
Arrange your new Apple Watch band in place and ensure it’s facing the correct way. It can be easy to fit it into place the opposite way to make sure you’ve paid close attention before proceeding.
Once the Apple Watch band is in place, slide one end into the slot on top of your device until you feel and hear it click into place. Repeat the process for the opposite end and make sure the fit is snug on both edges. Give both ends of your new Apple Watch band a slight tug to ensure it’s securely attached.
Final steps
Now you’ve successfully fitted your new band onto your Apple Watch, there are a couple of final checks to make sure you’re ready to wear it. First, try your watch on your wrist and adjust it to fit. Due to the various designs and watch sizes on the market, it’s easier than you may think to order the wrong size.
Next, double-check any attachment points and inspect the band for defects or misalignments. Now, ensure it’s comfortable. If it is, you’re ready to show it off.
Designer Apple Watch bands at Blakemoor
At Blakemoor, you can find a variety of beautifully crafted designer Apple Watch bands where every product meets our exacting standards. Whether it’s a classic leather strap or a modern vegan and stainless steel design, the Blakemoor collection offers a wide range of styles to suit every taste and occasion.
Not only are we committed to providing you with the very best in designer Apple Watch bands, but you’ll experience an exceptional level of customer experience with free and fast delivery.


Leave a comment
This site is protected by hCaptcha and the hCaptcha Privacy Policy and Terms of Service apply.